Easy to Play High Damage League Players
Sometimes games of League of Legends just feel hopeless when you're playing the carry. Even though every game is winnable, some games are much easier than others, and some games are much, much more difficult. As a carry, it's your job to deal as much damage as possible, and in those extremely difficult games, if you pay close attention, you may notice a few consistencies between them. In this guide, we will look at most players' most common issues in the carry position and develop a step-by-step strategy to maximizing damage output to make snowballing that much easier and more consistent.
Champion Select Decision Making
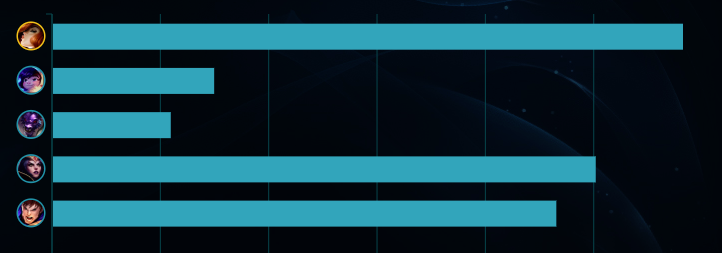
It all starts in Champion Select. In Champion Select, players are assigned to their roles and can begin strategizing to create a composition that will give them the best chances at winning their game. The first mistake players tend to make is assuming who will be playing the carry. Although some players have been playing long enough to know that the Marksmen role was originally called the AD Carry, and thus became the center point for damage in a team composition; that does not have to be the case. Any position can play more of a carry role, so it's important to communicate with your team to at least discuss the types of champions you intend on playing. Although this can change throughout the drafting phase, it is a great place to start.
Ideally, teams will have at least two damage threats, and generally, one is attack damage oriented, and the other is magic damage oriented. Again, this is generally assumed to be the bot laner (attack damage), and the mid laner (magic damage), but that does not need to be the case, and that assumption can lead your team loading onto Summoner's Rift with a terrible team composition. Throughout Champion Select, it becomes easier to see which teammates intend to play which style based on their champion of choice. For example, a team has picked: Irelia, Kindred, and Karma for the top, jungle, and support roles, respectively. This leaves the traditional "carry" positions left to pick with two carries already picked.
At this stage, it is important to ask yourself (whether you are mid or bot), what does my team need, and do I have to be the carry this game? As you may have guessed based on these picks, you probably do not need to be a carry. What do you need, however? Magic damage. So, a mid lane player's thought process should be: What magic damage champion can I play that will provide the most value for my team? Maybe something tanky? Maybe something with engage or a utility-oriented kit? The player decides to lock in Galio. Great, this champion fits the bill perfectly. Ideally, the bot lane player will use the same thought process to see what else is needed and that they do not also need to play a carry.
They decide to play Ashe. While this is a traditional "carry" champion, Ashe provides her team with a lot of utility, pick potential, engage, and global pressure (via her ultimate, and her Hawk Shot to provide vision). Always remember to gather the information you can in Champion Select to establish what playstyle you need to provide for your team, and remember, just because you are in the traditional "carry" position, does not mean you must be the carry this game.

Optimizing Runes
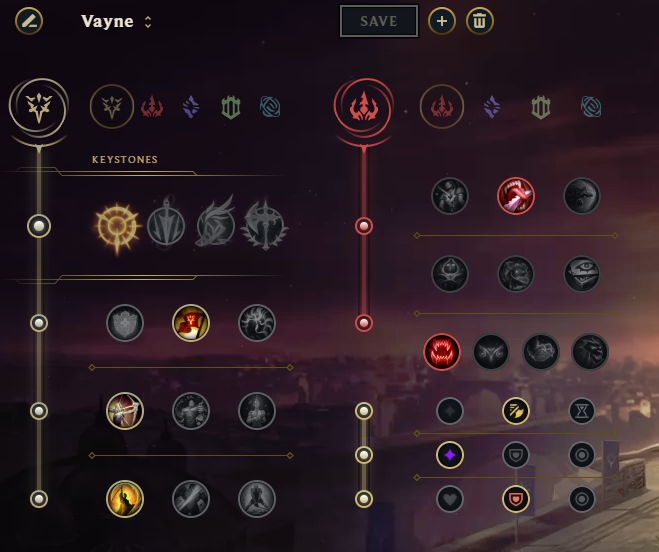
The next important part of the game to manage before you even load onto the Rift, is your choice of Runes. Most players have a specific Rune setup that they use each-and-every game that they play with each champion. While it is important to make sure you have a good Rune setup, it's also just as important to have an optimal setup where each Rune chosen serves its purpose. The Keystone may remain the same but understanding what each Rune option can do is vital to picking the right combination for each game that effectively compliments your champion's design. For example, Marksmen champions should see what enemies have been drafted and be able to identify if Coup de Grace is more valuable than Cut Down. For Marksmen, the tankier the enemy team is, the more value there will be in taking Cut Down. Whereas a squishier team will have little value from Cut Down, and Coup de Grace will provide more benefit against lower HP enemies.
Moreover, continuing the note of Marksmen Runes, the optimal power spikes of the Champion being played should be considered to understand the timeframe that the Champion will perform at their best. For example, a Champion like Vayne will see a lot of value taking Legend: Alacrity because the attack speed allows her to get her Silver Bolts applied more often. Additionally, Vayne tends to build life steal, so Legend: Bloodline may not have the same benefits. A Champion like Jinx on the other hand, might prefer Legend: Bloodline for more prevalent late game power and sustain because she does not always build life steal. Without going too far into builds, the premise for the decision-making is there. The more a player can understand what is needed of them in a game, the easier it is to decide which individual Runes can help them the most in every situation.
Builds
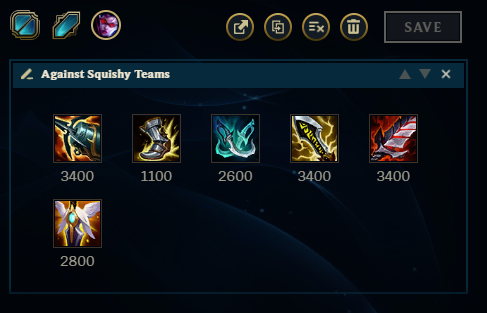
Regarding builds, there is obviously a lot of debate for every lane and situation in League of Legends. Although people can argue constantly about the most optimal builds and build paths, the most important thing is the thought process behind the decisions that were made in each build. In having effective decision making around builds, it will not always make a player necessarily deal more damage. Instead, it may result in the damage being dealt being more impactful. It may be difficult to understand at first, but it's not always best for a Qiyana to just build Lethality. The purpose of the various items available is to generate options for varying situations that a player can find themselves in.
For example, if Qiyana is playing into an Orianna mid and Karma support, Qiyana may want to consider building Serpent's Fang to cut through the shielding that these Champions can provide. In games with little-to-no shielding however, Serpent's Fang does not offer nearly as much as an item like Youmuu's Ghostblade for example. In terms of the raw item statistics, both items offer the same Lethality, but Youmuu's offers 5 more attack damage, out of combat movement speed, and active item movement speed for only 400 more gold.
Another example of this, would be an ability-powered shielding Support Champion trying to decide what item to build to help shield allies. Some Support players will think that they need to build an item like Locket of the Iron Solari to provide more shielding when this item is not ideal at all. Instead, items like Moonstone Renewer will provide the user with lower cooldowns on their shielding abilities, and more impactful shields when the target is lower in health. Another tip for these shielding Supports is to understand the value that Ability Power provides shielding because these champions' shields generally scale with increased Ability Power.
The Early Game
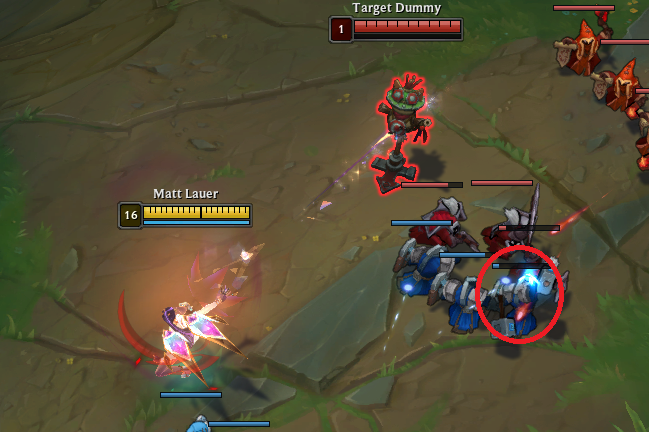
In the laning phase, it's important to know when to deal damage to take advantage of matchups whenever possible. Without diving into the countless lane matchups and trading patterns, the primary goal of trading and aggression in the laning phase, is to do so when you will win the trade or fight. Obviously, this is easier said than done, but with time in each matchup, champion comfortability, and proactive thinking, players can quickly learn the ideal times to seek out trades. Players can always start with simple "Rules of Thumb" around trading in the laning phase, such as attacking enemies each time they attempt to last hit a minion for gold.
Although one auto attack may not do a lot of damage, because the enemy is in the middle of last hitting a minion, it is a free trade. It's important for players to understand the impact a free trade can actually have on the laning phase. Since each minion wave will have 6-7 minions, that can be as much as seven auto attacks of free damage onto the enemy. Even for the lowest attack damage stat Champions, these numbers can add up.
Once that idea is ingrained in the player, the next important thing to remember, is how to "take what you can get." This basically means, do not get greedy! Although it may seem like you are able to potentially get another auto attack off on the enemy, the enemy is now also able to get an auto attack off on you! It may seem like it's the same thing because you still got one more auto attack off in the trade, but this is a slippery slope that can lead into unfavourable trades and fights that could at least lose you lane priority, or at most, the entire laning phase. Once that is understood, it really comes down to knowing the matchups and at what point a fight would go in your favour after considering the state the matchup is in after taking free trades. In matchups where one player should win a fight from full health, it is up to the other player to understand what health they need to bring them down to, swinging the odds in their favour. This can only be done through efficient trades with the patience and discipline to not get greedy and try to get more than what is needed. Once the odds are in your favour, it boils down to what cooldowns are up, nearby ally presence, and mechanical skill to ensure the end-result.
The Mid and Late Game
In the mid game and late game, players should always be looking for skirmishes and fights with player advantages. Without player advantages, there is a lot that can easily go wrong, making the fight that much riskier. The easiest way to get advantages is to always make sure trading, aggression, and engagements are always done when your team has more allies than the enemy. Although the fight could still go wrong, the odds are dramatically in your favour with a mismatch in players involved, regardless of any minor gold lead that exists. Aside from player advantages, the next best way to maximize damage, is to make sure that you are seeking out these engagements when you have reached your power spike. Not only this, but if you are aware of the enemies' power spikes and your team has reached yours first, it is the perfect time to use that windowed advantage to fight, or at least pick up an objective. A common example this season is when one team has finished their Mythic Items and the other team has not yet. This is perhaps one of the biggest advantages a team can have over the other at any point in the game.
In terms of the actual playstyle that should be adopted in skirmishes and fights, it's completely dependent on the role that you serve for your team. In skirmishes, it's generally more important to kill one Champion as soon as possible to create a numbers advantage. For players in engaging, or diving roles, this means it's their job to identify, and initiate on the target. For players high damage roles, it's their job to follow up and execute that targeted Champion. Finally, for players on more area-of-effect, or crowd-controlling roles, it's their job to zone off the other enemies, or at least make it more difficult for them to do the same thing to your team.
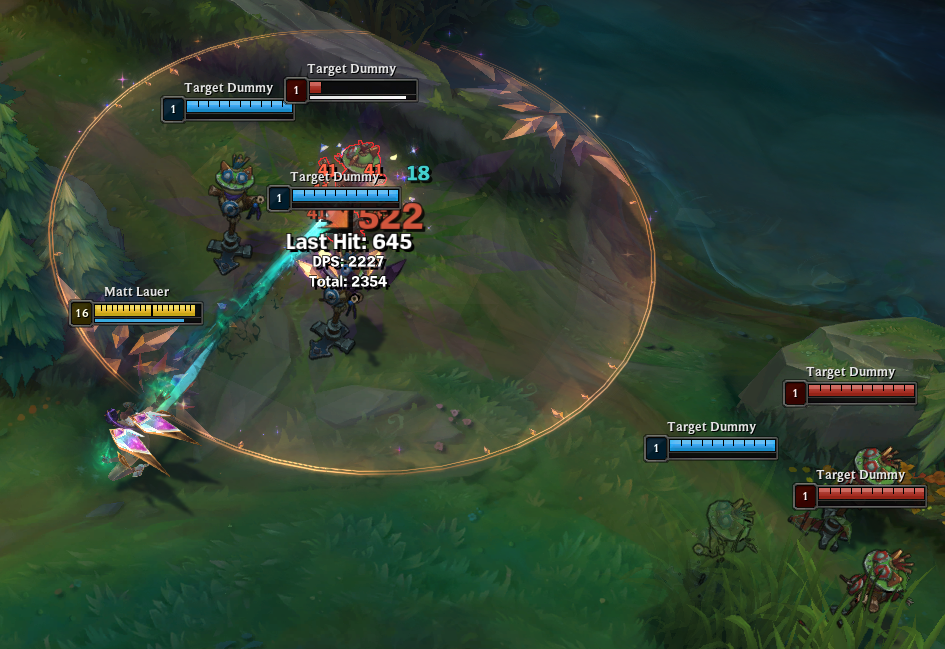
Teamfights, on the other hand, are much more difficult to adapt to because they are chaotic and extremely positioning-oriented. In that, the teams that have setup the better position will generally come out on top unless there is an extreme mechanical outplay or misplay. In these positions, each role has very important things to keep track of that can make or break the game. For the player that is meant to maximize their damage, the most important thing to decide before the fight is the threats to avoid. A threat can be anything from a Champion to a specific ability from the Champion. Once these threats are established, you must know what your plan is to avoid or escape from them. For example, an enemy Skarner may be a threat because of his ultimate. Therefore, the plan should be to keep Skarner out of range of his ultimate. Another plan may be to use Quicksilver Sash when Skarner uses his ultimate to escape the Suppression.
It may seem basic to understand how to get out of these situations, but the important thing about thinking about the threats in advance is that it allows you to think about other things going on during the fight and prevents you from panicking when you get caught off guard. Once the threats have been assessed and planned for, the next step is positioning for the initiation. All too often players make the mistake of being too far away from the initial engagement that they spend the entire duration of the engaging ability's crowd control getting into the position to follow up. The problem with this is that the easiest time to get off as much damage as possible is when enemies are crowd-controlled and have no way of retaliating. Not being in position to deal damage during the one to two seconds of crowd-control can easily be a difference of 200-1000 damage dealt depending on how late into the game the fight occurs. Not only this, but for each player that is not there to deal damage, the difference is amplified. If done correctly, a team following up on a crowd-controlling ability can instantly create a 4v5 scenario.
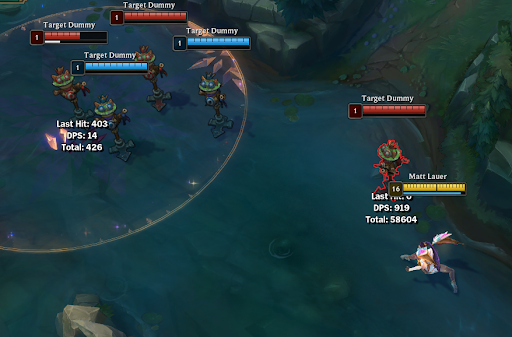
During the actual teamfight however, the best way to maximize your damage is by positioning where you can deal as much damage as possible while minimizing the amount of damage you can take. Consider Kai'sa, for example. Kai'sa is a unique Marksmen that can instantly follow up with her Ultimate ability to gain access to the backline and assassinate enemy carries. However, while doing so, she could just as easily put herself in a position where she trades herself for the enemy she assassinates. This does not mean the decision to go in is wrong, in fact, if Kai'sa is not the main damage dealer but manages to trade herself for the enemies' main damage dealer, then it actually is ideal. However, assuming Kai'sa is the primary damage dealer, she should be positioned in a way to attack the enemy closest to her at her maximum range. The key feature to this playstyle is maintaining a position where Kai'sa is using her maximum attack range to get the most benefit since it means she is safest from that enemy. This is where range plays such a key role in fights because the distance that needs to be closed to access that Champion is so much greater that it provides that Champion with exponentially more safety in the fight. Not to mention that if Kai'sa gets into a situation where the distance between her and the closest ally is shrinking, she can then choose to use her Ultimate Ability to reposition to access the backline enemy carries with teammates that may be closing that distance as well. Essentially, maximizing damage in teamfights boils down to being the furthest you can from enemies while still being able to damage them. This allows you to survive longer and deal that much more damage. This applies to Marksmen and Mages who generally have the most damage, but the same ideas can be used for diving and brusier type Champions. Position yourself to deal as much damage as possible while taking the least.
Conclusion
Overall, maximizing damage is not about bursting enemies down, or playing extremely aggressive. It's about manipulating the state of the game to adhere to your Champion's unique abilities so you can deal as much damage as possible, while taking as little as possible. The key factors that impact this begin in Champion Select when players decide on the Champion that is needed given the situation, the Runes that best compliment that Champion in the given situation, the best build for the Champion to adapt to, or excel in the given situation, and the positioning and forethought to generate trades, and execute on favourable outcomes. The culmination of these factors will dramatically improve your damage numbers and give you the confidence to play fights intelligently. The more intelligent a player can be about the fights, the easier the fight is to play out successfully, and the less mechanical prowess is needed to come out on top.
Do your best and keep asking questions.
Good luck, Summoners!
mccauleyacialved1986.blogspot.com
Source: https://dignitas.gg/articles/how-to-maximize-your-damage
0 Response to "Easy to Play High Damage League Players"
Postar um comentário